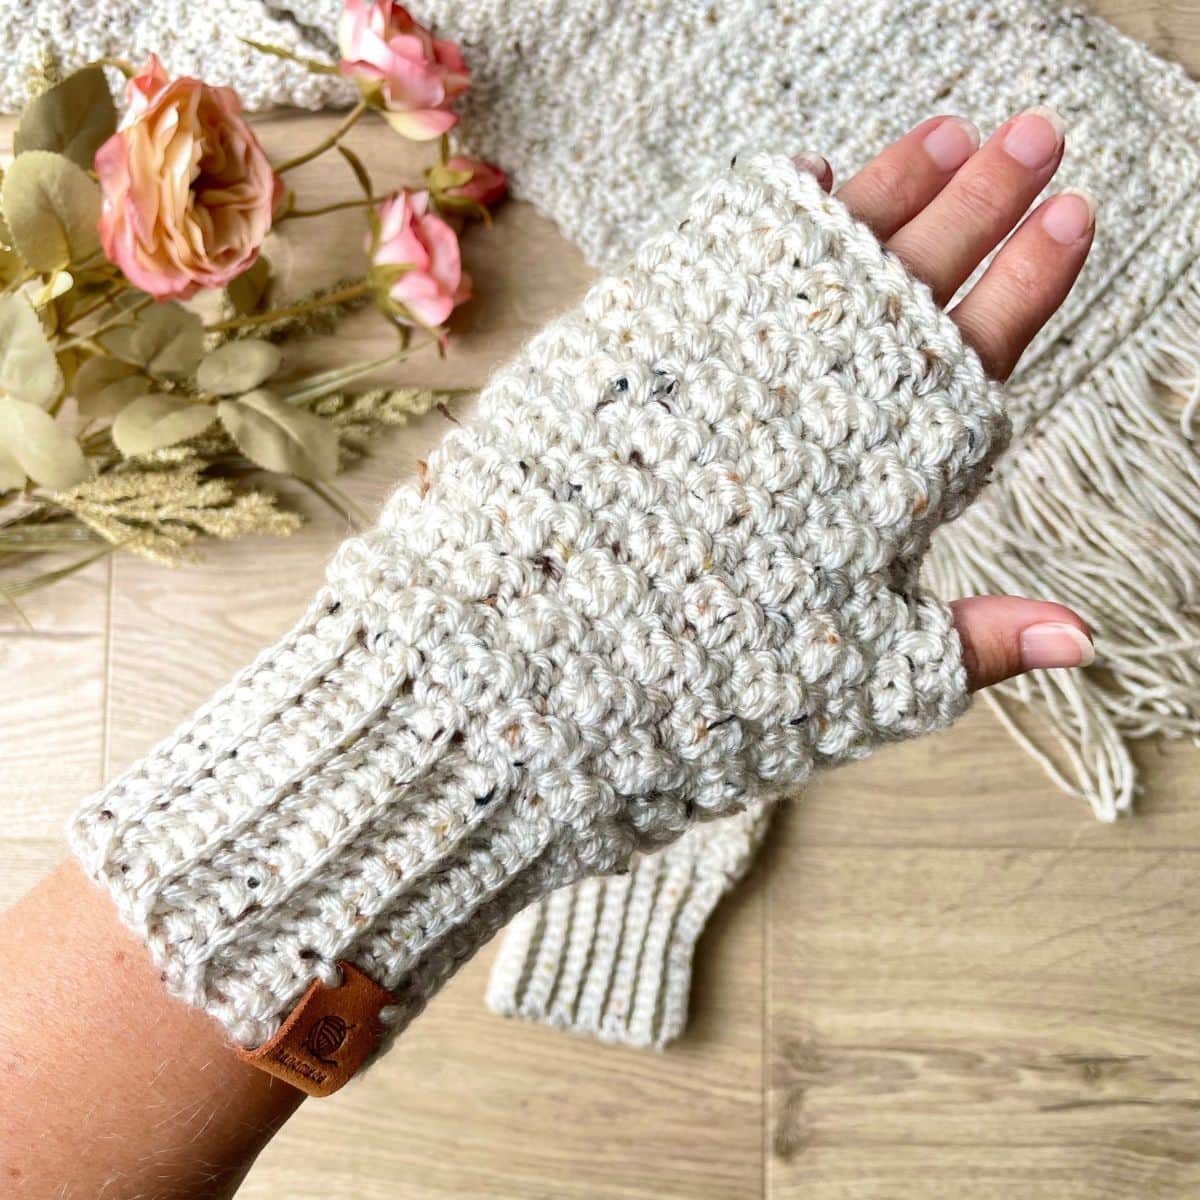
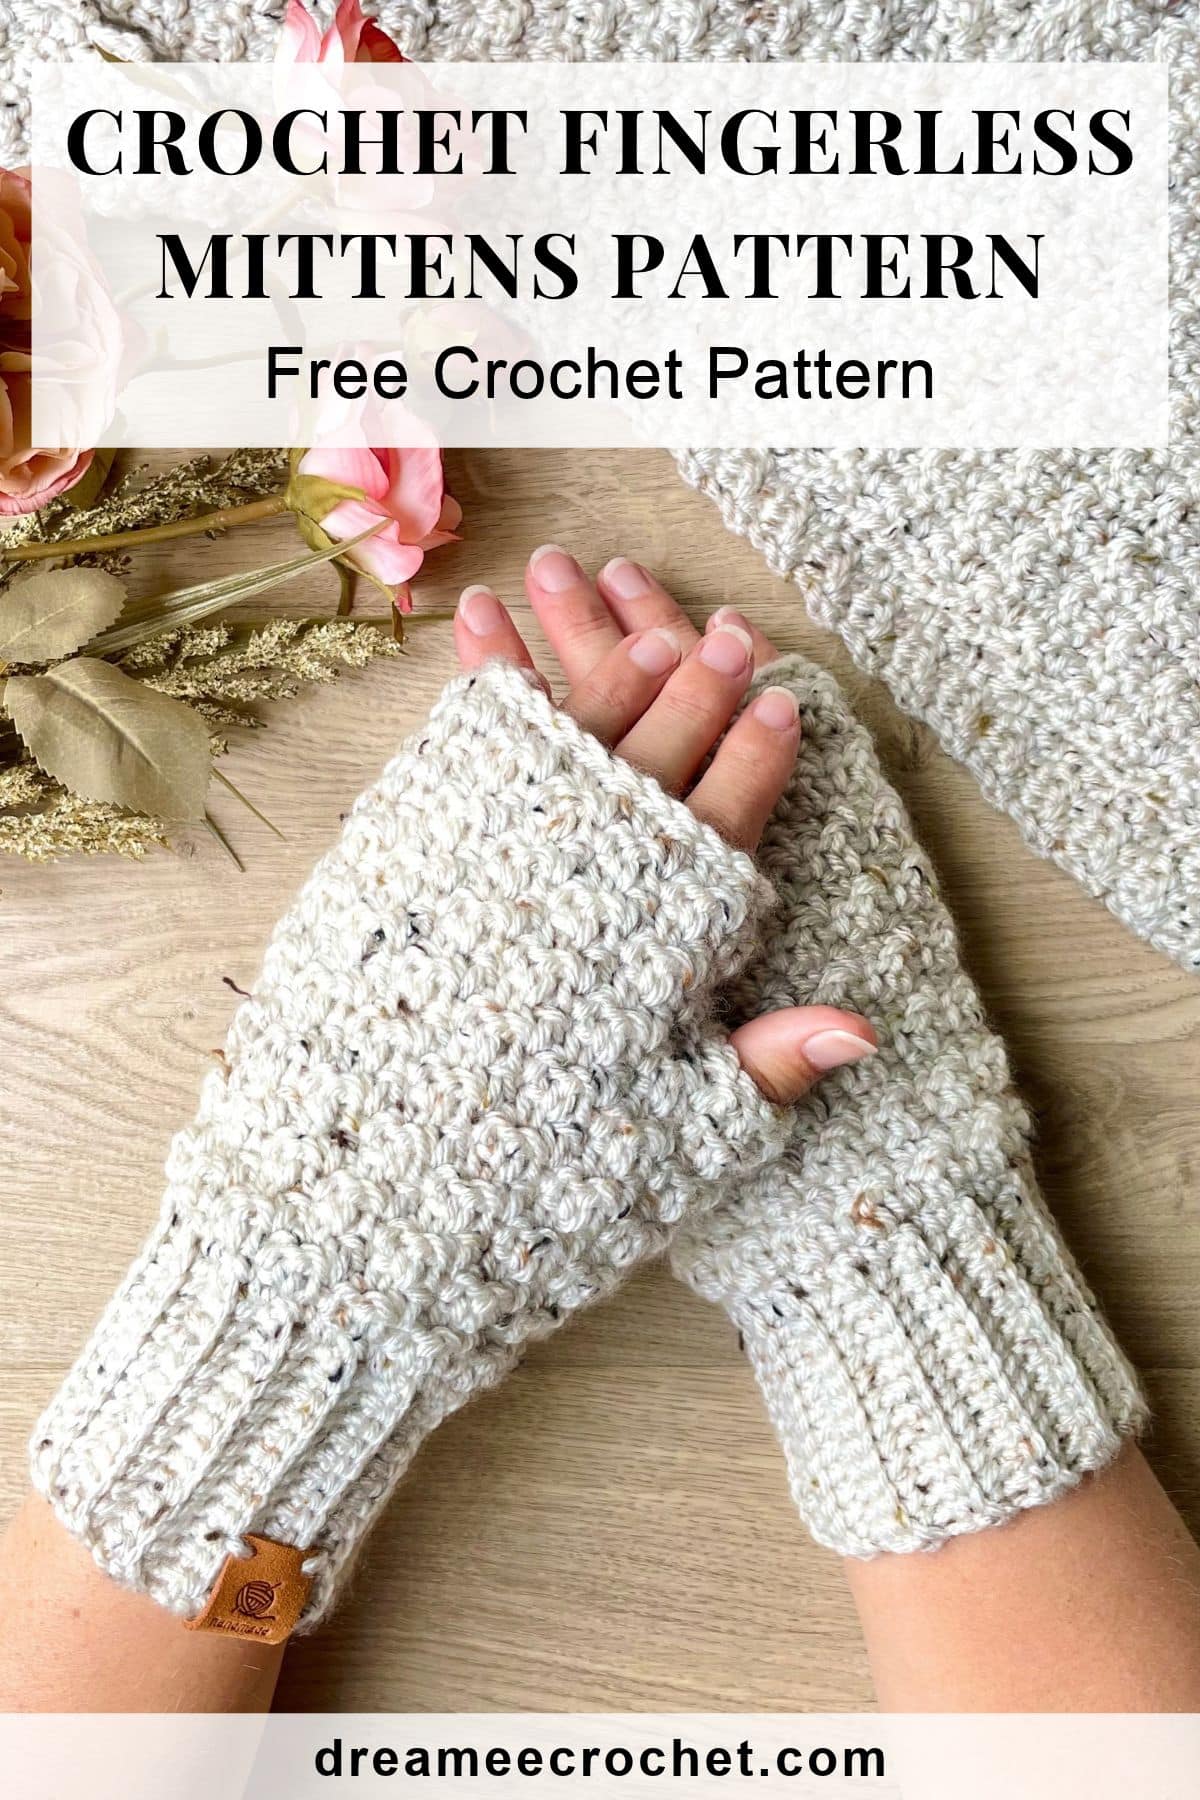
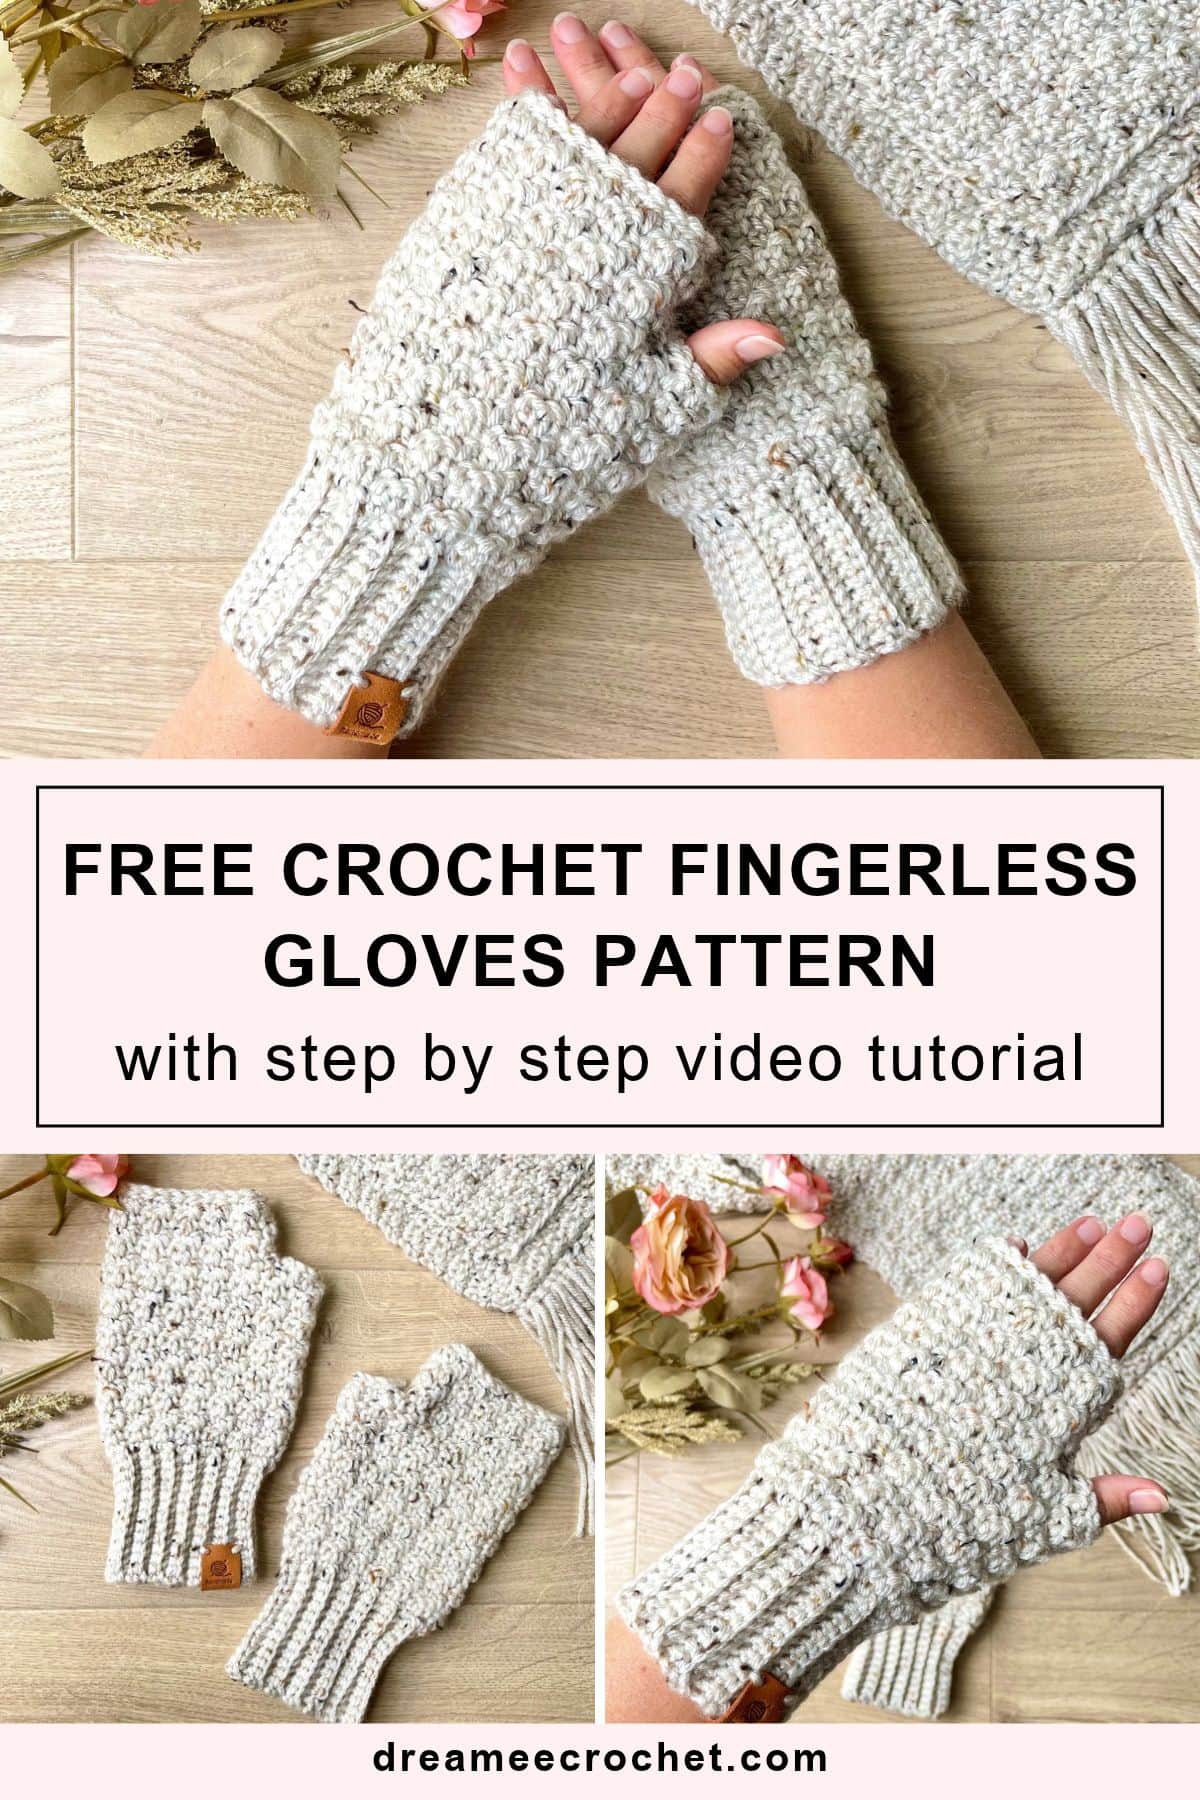
Try my chunky crochet fingerless mittens free pattern and keep your hands warm this winter with these super cozy crochet fingerless mitts! Made using the beautiful Lemon Peel stitch, this pattern creates a lovely one row repeat texture that’s both stylish and practical for colder days.
The easy crochet pattern comes in 3 sizes and is suitable for all skill levels, including beginner crocheters, with clear instructions and a step by step video tutorial to guide you through the process.
Scroll down to view the full written pattern. Or purchase the ad-free printable PDF on Etsy or Ravelry.
This blog post contains affiliate links, which means that if you choose to make a purchase, I will earn a small commission. This commission comes at no additional cost to you. If you do make a purchase through my affiliate link, I want to thank you for supporting this blog!
These crochet fingerless mittens are a great project if you’re looking for a simple design that doesn’t take too long to finish.
They’re perfect for a quiet Sunday afternoon with a cup of coffee, when you can sit back, enjoy this easy crochet project and have a cosy pair of mittens ready to wear before you know it!
They will also make a perfect gift for friends and family, especially during the colder months.
Crochet Fingerless Mittens Free Pattern: Before You Get Started
Pattern Notes
Skill level: Advanced beginner crochet skills and knowledge – only basic stitches needed – slip stitches, single crochet stitches and double crochet stitches
Terminology: US crochet terminology
Gauge (4″ x 4″) – main body of the mitten: 7 clusters (cluster = SC in one ST and DC into the following ST) x 12 rows
Gauge (2″ x 2″) – cuff: 10 SC STs x 9 rows
Sizing
These crochet mitts come in 3 different sizes:
Full length (cuff and mitten): S-19cm (7.5″), M-21cm (8.25″), L-25cm (10″)
Cuff length: S-5.5cm (2.25″), M-6.5cm (2.5″), L-7.5cm (3″)
Mitten circumference (widest point): S-22cm (8.75″), M-25cm (10″), L-29.5cm (11.5″)
Cuff circumference: S-14cm (5.5″), M-16cm (6.3″), L-18cm (7″) – the cuff should be about 2.5cm (1″) smaller than your wrist to allow for the stretch
You can easily customise the size of the cuff and the mitten:
- crochet more or less chains in the foundation chain to adjust the length of the cuff
- crochet more or less rows to adjust the circumference of the cuff
- crochet more or less rounds when working on the main body of the mitten and the openings for the fingers and the thumb
Yarn Requirements
Type of Yarn:
I recommend using 100% acrylic yarn or an acrylic blend. Both options are soft, warm and budget-friendly, so you can create a pair of cosy mittens without spending a fortune on yarn. Medium Worsted weight yarn #4 = Aran is a great option for this type of crochet project.
I used:
- Medium Worsted yarn weight #4 = Aran
- 97% acrylic and 3% viscose
- The Women’s Institute Soft & Smooth Tweed – color Marl (BR4267/17)
- yardage – small size: 70g = 105m (115 yards)
- yardage – medium size: 80g = 120m (131 yards)
- yardage – large size: 100g = 150m (164 yards)
Yarn Substitutes
US Suppliers
- Acrylic blend – Knit Picks Brava Tweed Yarn
- Acrylic blend – Impeccable™ Tweed Yarn by Loops & Threads
UK Suppliers
- 100% acrylic – King Cole ‘Big Value Aran’
- Acrylic blend – James C. Brett ‘Rustic With Wool’ Aran
Crochet Hook Size
- 3.5mm crochet hook (E/4) for the cuff
- 5mm crochet hook (H/8) for the main body of the mitten
Other Equipment
Crochet Abbreviations Used
This crochet fingerless mittens free pattern is written using basic crochet stitches in US terms. Download this free printable chart with UK terms.
FCH: foundation chain
R: row/round
ST: stitch
SC: single crochet stitch
DC: double crochet stitch
CH: chain stitch
SL ST: slip stitch
BLO: back loop only
FLO: front loop only
TO: turn over
INV FO: invisible fasten off
{…}: number shown inside these brackets equals the number of total stitches at the end of each row
Make it a Matching Set
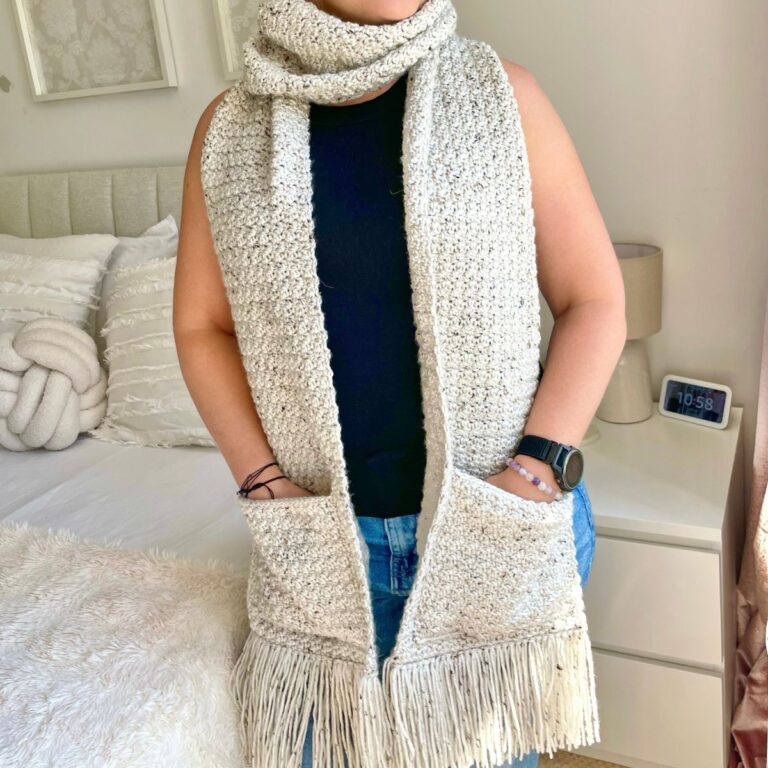
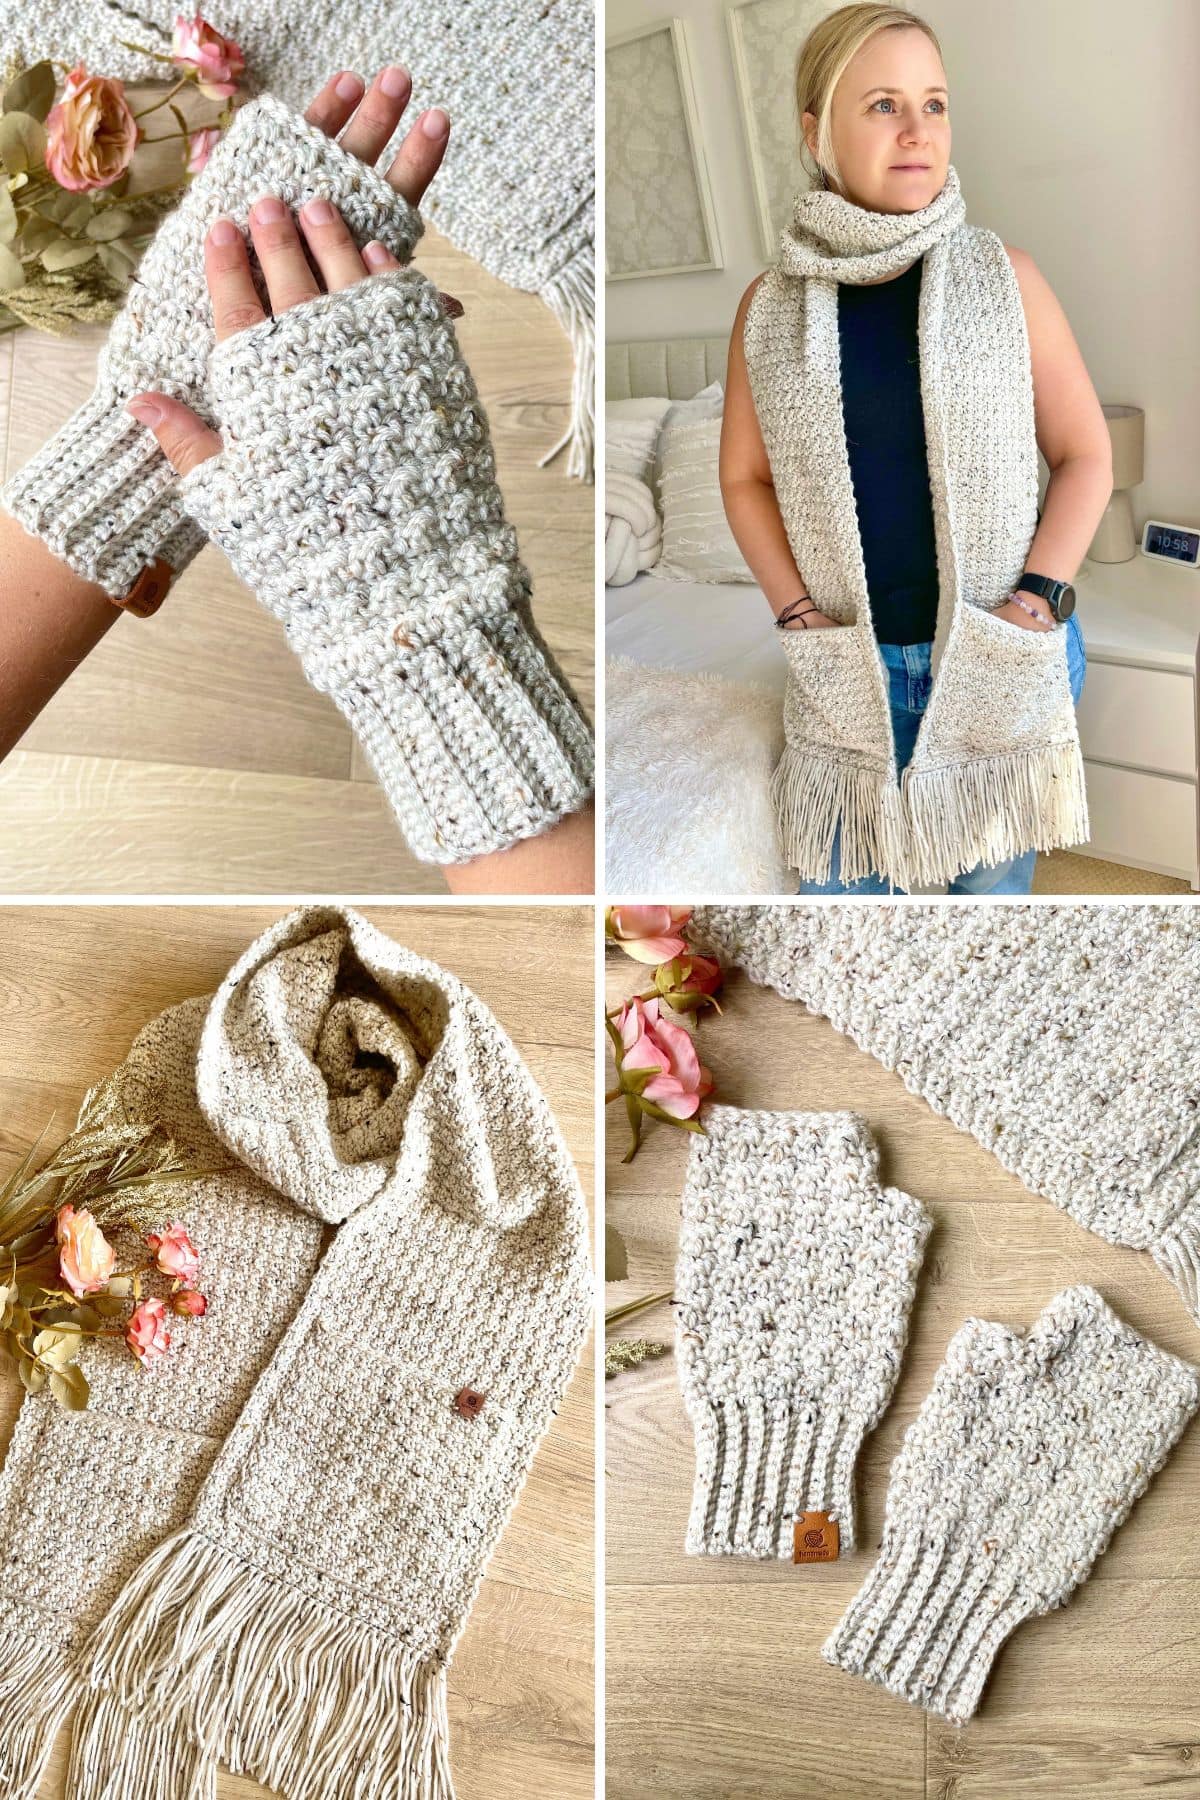
Why not complete your cozy look with my crochet pocket scarf? It pairs beautifully with these crochet fingerless mitts, and together they make a lovely matching set for keeping warm on chilly days. They’d also make perfect gifts for anyone who loves handmade crochet accessories!
I Need Help with this Pattern
If it is your first time dipping your toes in the world of crochet, then you may find these video tutorials handy before you get started with this easy crochet mittens pattern.
Need more help?
The fastest way to get help is to leave your question in the comment box at the bottom of this post.
Or join our Dreamee Crochet Facebook group to ask for support with this fingerless crochet mittens pattern. Many of the members have experience with my crochet patterns and will be more than happy to help.
You can also share your creations, chat to fellow crochet makers or exchange tips and tricks.
Join Our Community
Join our Dreamee Crochet community on Facebook and ask for support, share your creations and exchange tips with fellow crochet makers.
How Can I Download this Crochet Fingerless Mittens Pattern?
My free crochet patterns are supported by ads on this website and are not downloadable.
But you can download the ad-free pdf version of this pattern for a small fee from my Etsy shop or Ravelry store. Your generous contribution will help towards the cost of materials and running this website so I can continue to publish my free patterns online for everyone to enjoy.
Ad-Free PDF Download
Purchase the printable ad-free PDF pattern packed with detailed instructions and helpful step-by-step photos.
Crochet Fingerless Mittens Free Pattern: Construction
The crochet fingerless mittens are worked from the cuff upwards.
First, crochet the cuff flat in rows using the single crochet ribbing stitch and join both ends of the cuff.
Then start crocheting the main body of the mitten into the cuff, working in rounds.
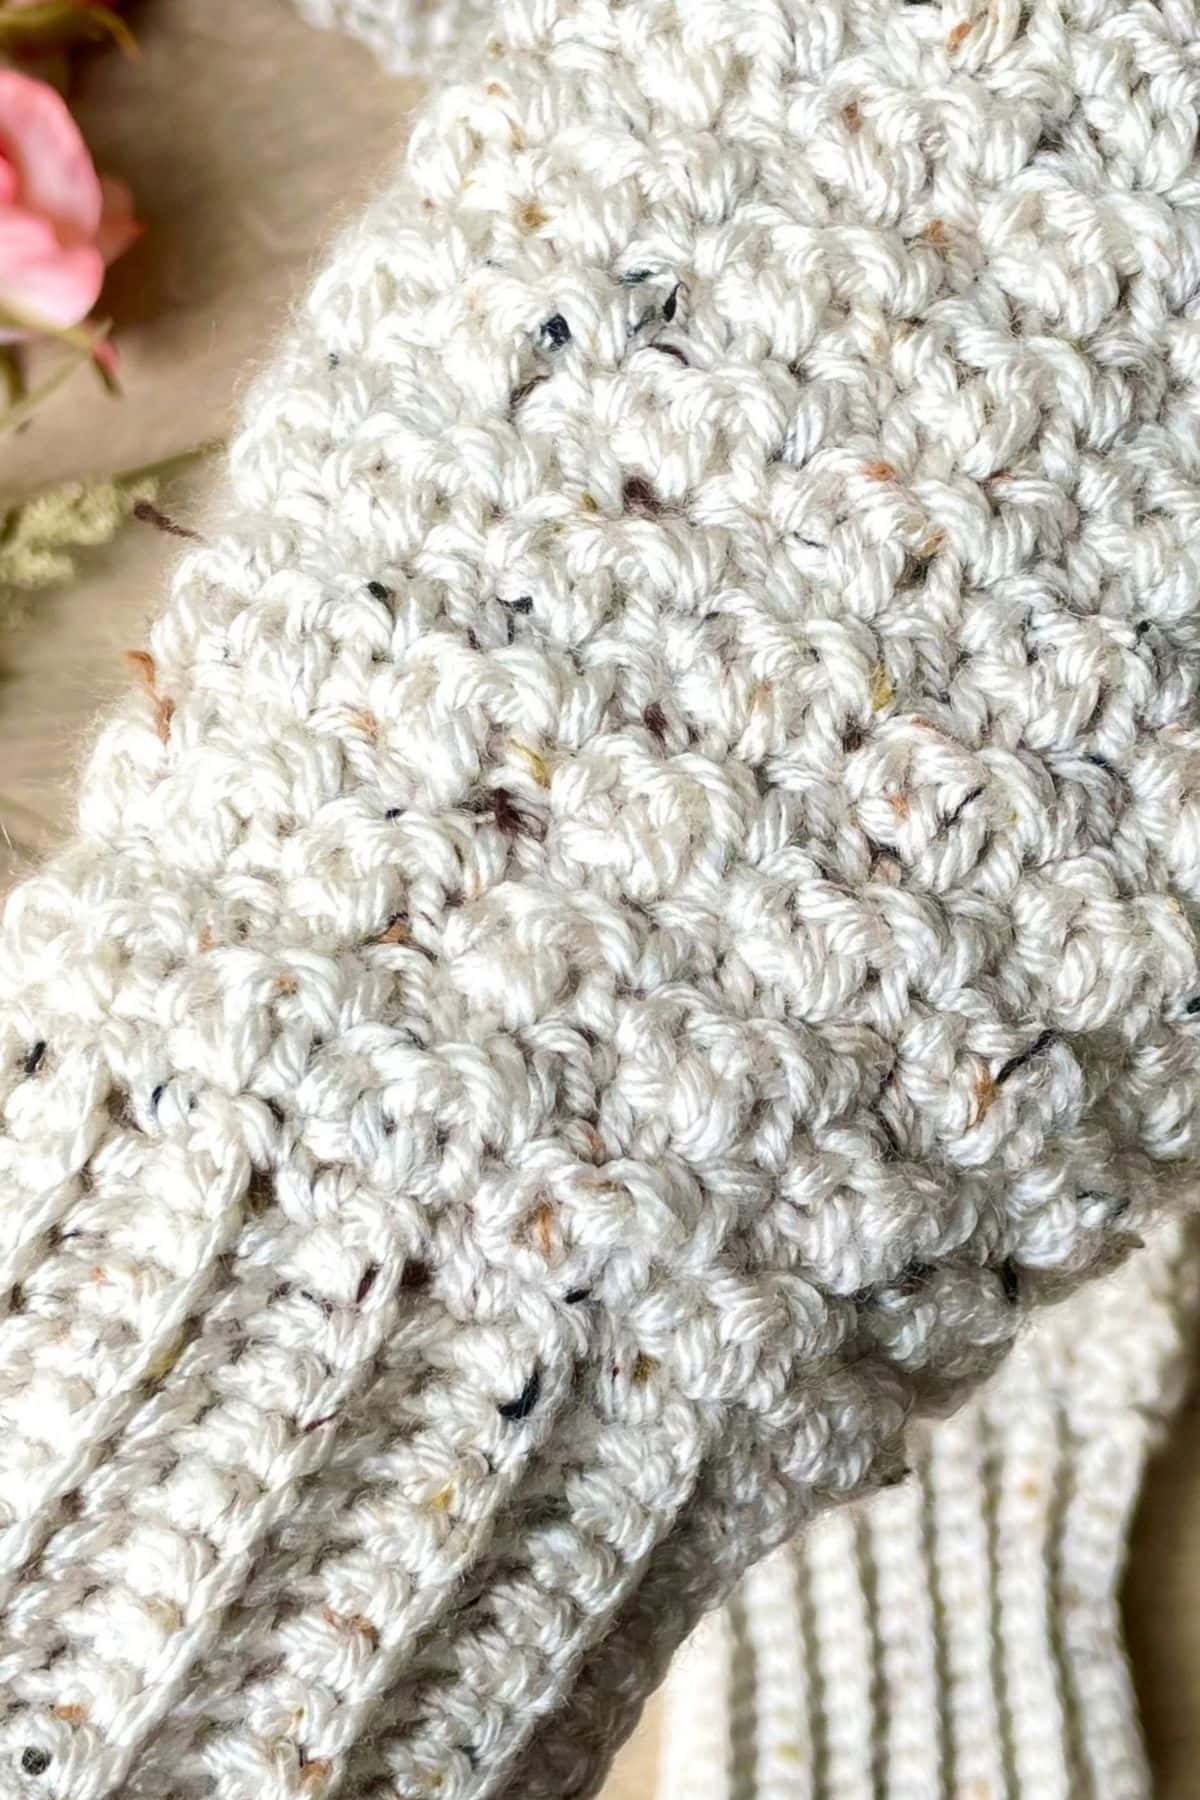
The Lemon Peel stitch is used for the main body, giving the mittens a beautiful textured finish.
To create the openings for the thumb and four fingers, split the round of the main body into two smaller rounds.
Then continue crocheting in rounds to complete the opening for the four fingers before moving on to complete the opening for the thumb.
Video Tutorial
If you’d like a little extra guidance, I’ve created a full step-by-step video tutorial to walk you through this fingerless mittens crochet pattern from start to finish. You can follow along at your own pace and see each part of the process in detail.
If you enjoy the tutorial, feel free to subscribe to my YouTube channel to watch more of my crochet along videos and stitch tutorials.

Crochet Fingerless Mittens Free Pattern: Written Pattern
Ribbed Cuff
FCH: Chain S-12, M-14, L-16 – chain more for a longer cuff if you would like to fold it up
R1: SC into each CH across starting from the 2nd CH from the hook {S-11, M-13, L-15}, CH1 and TO
R2: SC into BLO of each stitch across the row {S-11, M-13, L-15}, CH1 and TO
R3 onwards:
- repeat row R2 until you have reached the desired size
- crochet S-24 rows, M-28 rows, L-34 rows
- do not count FCH as a row
- finish the last row in the opposite corner from your starting tail and CH1
Joining the Cuff:
- fold the cuff in half to join both ends by slip stitches
- insert your hook into FLO of the first ST and then insert the hook into the corresponding CH at the other end of the cuff and SL ST
- SL ST across the row and do not FO or cut the yarn off {S-11, M-13, L-15}
- you will continue to crochet the mitten from here
Main Body of the Mitten
– continue to crochet from where you finished with the cuff
– swap your hook for the bigger size 5mm (H/8)
– you will now crochet in rounds and will slip stitch at the end of each round to join
R1:
- insert the hook into the working loop, CH1 and SC all around the cuff (carry the starting tail from the cuff inside the stitches and then cut it off)
- you will SC into the small gaps at the end of each row on the cuff
- the total number of SC STs in this round should equal the number of rows on your cuff, i.e. {S-24, M-28, L-34}
- SL ST into the first ST of the round, CH1 and TO
R2 to S-R10, M-R12, L-R14
- SC into 1st ST (not the one at the base of the SL ST but the next one)
- DC into next ST – this will create the first ‘Lemon Peel’ stitch cluster
- SC into next ST, DC into next ST – this will create the second ‘Lemon Peel’ stitch cluster
- SC into next ST, DC into next ST and continue to crochet around alternating between SC & DC
- DC in the last ST of the round
- {S-24, M-28, L-34}
- SL ST into 1st ST of the round, CH1 and TO
Creating the Finger and Thumb Openings
You will now split the round into two smaller rounds to create the openings for the fingers and the thumb
S-R11, M-R13, L-R15 (left mitten):
- SC into 1st ST, DC into next ST
- skip S-6 STs, M-6 STs, L-8 STs
- SC into next ST, DC into next ST and continue to crochet around alternating between SC & DC
- DC in the last ST of the round
- small opening for thumb: {S-6, M-6, L-8}
- larger opening for fingers: {S-18, M-22, L-26}
- SL ST into 1st ST of the round, CH1 and TO
S-R11, M-R13, L-R15 (right mitten):
- SC into 1st ST, DC into next ST and continue to crochet around alternating between SC & DC, finish with ST S-16, M-20, L-24
- skip S-6 STs, M-6 STs, L-8 STs
- SC into next ST, DC into last ST
- small opening for thumb: {S-6, M-6, L-8}
- larger opening for fingers: {S-18, M-22, L-26}
- SL ST into 1st ST of the round, CH1 and TO
Finishing the Finger Opening
– you will now complete the opening for the fingers before you move onto the thumb opening
– this part of the pattern is the same for both left and right mitten
– continue from where you finished with the previous round and continue to crochet around the larger opening for fingers only
– you can customise the length of the opening by crocheting more or less rows
S-R12 to R15, M-R14 to R17, L-R16 to R21:
- SC into 1st ST, DC into next ST and continue to crochet around alternating between SC & DC
- DC in the last ST of the round
- {S-18, M-22, L-26}
- SL ST into 1st ST of the round, CH1 and TO – do not SL ST at the end of S-R15, M-R17, L-R21, you will continue to crochet in a continuous round instead
S-R16, M-R18, L-R22:
- SL ST into each ST all the way round – this way the edging will be tighter and will not stretch so much with use
- {S-18, M-22, L-26}
- INV FO and weave the yarn tail in – watch my video tutorial if you need some help with the invisible fasten off
And that’s the opening for the fingers completed.
Finishing the Thumb Opening
– this part of the fingerless gloves crochet pattern is the same for both left and right mitten
– crochet in rounds again, working into the smaller opening of S-6 STs, M-6 STs, L-8 STs plus some of the gaps around the inside of the thumb hole
– you can customise the length of the opening by crocheting more or less rows
– you may find it helpful to follow my step by step video tutorial to crochet this part of the pattern
R1 – S and M only:
- create a slip knot on your hook using a new strand of yarn – leave a longer tail for sewing
- insert your hook into the small gap at the base of your thumb – this is the gap before your first ST and SC – do not count this as a ST
- SC in the 1st ST next to it, DC in next ST and continue to crochet around alternating between SC & DC (also crochet into another 4 gaps around the inside of the thumb)
- DC into the same gap where you started (so you will have 2 DC STs at the end of this round {11}
- do not SL ST, you will continue to crochet in a continuous round instead
R2 – S and M only:
- SL ST into each ST all the way round to make the edging tighter {11}
- INV FO and weave the yarn tail in
- you may notice small gaps between the thumb and the fingers. You can close these using a yarn needle and the starting tail from R1 of the thumb opening.
R1 – L only:
- create a slip knot on your hook using a new strand of yarn – leave a longer tail for sewing
- insert your hook into the small gap at the base of your thumb – this is the gap before your first ST and SC – do not count this as a ST
- SC in the 1st ST next to it, DC in next ST and continue to crochet around alternating between SC & DC (also crochet into another 5 gaps around the inside of the thumb)
- your last ST should be DC into the same gap where you started {14}
- SL ST into 1st ST of the round, CH1 and TO
R2 to R3 – L only:
- SC into 1st ST, DC into next ST and continue to crochet around alternating between SC & DC
- DC in the last ST of the round {14}
- SL ST into 1st ST of the round, CH1 and TO – do not SL ST at the end of R3, you will continue to crochet in a continuous round instead
R4 – L only:
- SL ST into each ST all the way round to make the edging tighter {14}
- INV FO and weave the yarn tail in
- you may notice small gaps between the thumb and the fingers. You can close these using a yarn needle and the starting tail from R1 of the thumb opening.
And that’s a wrap! 🙂 I hope you had fun crocheting your fingerless mittens! Whether they’re a new addition to your own wardrobe or a handmade gift for someone special, I’d love to see your finished pair. Don’t forget to share your photos with us on social media! 🙂
Planning to sell on Etsy?
Take advantage of this AMAZING OFFER! Open an Etsy shop by clicking on the button below and list your first 40 items FREE!
Did You Enjoy Making these Crochet Fingerless Mitts?
- Leave a comment: share your feedback with us in the comment box below
- Pin this pattern: pin this free crochet pattern on Pinterest so you can return to it later
- Share your photos: I love to see your finished products so please share your photos on social media with the tag @dreameecrochet
- Share this pattern: show me your love and link to this pattern on all social media platforms
- Subscribe: subscribe to my Newsletter to receive news and updates when I publish new patterns and video tutorials
- Explore more: visit my free crochet patterns for more crochet projects you will love!
- Join our Dreamee Crochet Facebook group: share your makes, chat to fellow crocheters or exchange tips and tricks
You Need to Check These Out!
If you like this crochet fingerless gloves pattern you may also enjoy these crochet accessories patterns. Or visit my free crochet patterns and video tutorials for more beautiful patterns and videos you will love!
Free Crochet Heart Pillow Pattern
Free Crochet Heart Keychain Pattern: Easy Amigurumi Heart
Free Baby Bear Beanie Crochet Pattern: 6 Hat Sizes
Free Crochet Scarf with Pockets Pattern & Video Tutorial
Happy crocheting! 🙂